
Whynter refrigerators are known for their reliability and efficiency, but like any appliance, they can occasionally run into problems. Addressing these issues promptly can save you from unnecessary stress and potential repair costs. This guide provides practical solutions for common problems, helping you troubleshoot and fix them on your own.
1. Not Cooling Properly
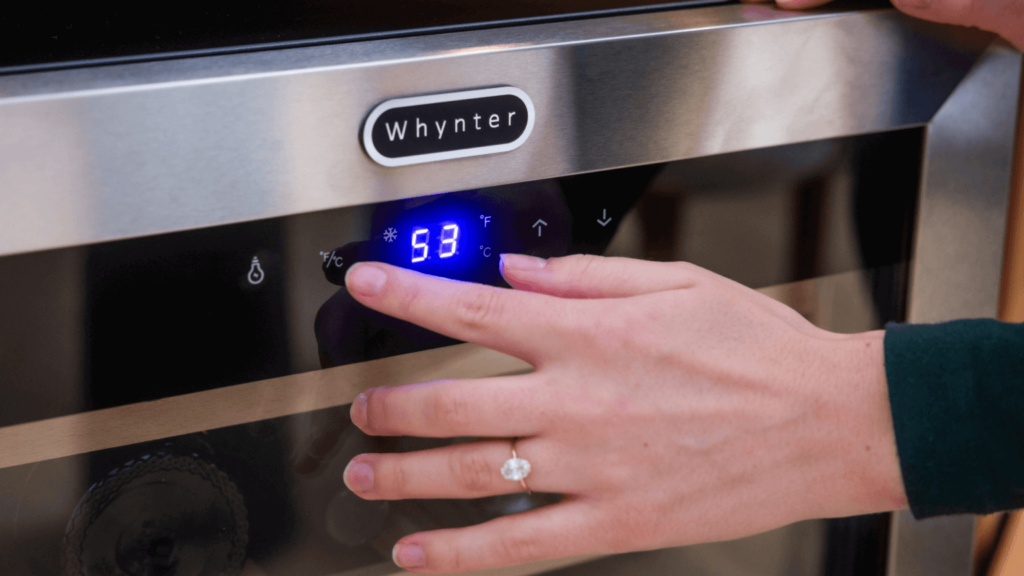
- Thermostat Settings: Ensure the thermostat is set to the correct temperature. For refrigerators, this is typically between 37-40°F. Adjust the settings as needed and give the appliance a few hours to stabilize.
- Blocked Vents: Make sure there’s no obstruction in the vents inside the refrigerator. Move any items that might be blocking the vents to allow proper air circulation.
- Condenser Coils: Check if the condenser coils are dirty. Clean them with a vacuum or brush to improve efficiency. Unplug the refrigerator before cleaning the coils, usually located at the back or underneath the unit.
- Door Seals: Inspect the door seals for any gaps or wear. Close the door on a piece of paper; if it slides out easily, the seal may need replacing. Replace faulty seals to prevent cold air from escaping.
2. Unusual Noises
- Leveling: Ensure the refrigerator is level. Use a spirit level to check and adjust the leveling legs accordingly. An uneven surface can cause vibrations and noises.
- Fan or Motor: The evaporator fan or condenser fan might be dirty or faulty. Clean the fan blades carefully with a soft brush or cloth. If the noise persists, the motor may need replacing; consult the user manual for instructions.
- Compressor: Some noise from the compressor is normal, but if it’s excessively loud, it might need professional inspection. Ensure the refrigerator is not in direct contact with walls or cabinets to reduce noise transmission.
3. Water Leaks
- Drain Pan: Check if the drain pan is properly placed and not cracked. Empty and clean it regularly to prevent overflow.
- Drain Hole: Ensure the drain hole inside the refrigerator is not blocked. Use a pipe cleaner or a similar tool to clear any clogs. A mixture of warm water and baking soda can help clear stubborn clogs.
- Water Line: For models with an ice maker, inspect the water line for leaks or damage. Tighten connections or replace the line if needed. Ensure the water line is not kinked or pinched.

4. Refrigerator Running Constantly
- Door Seals: Inspect the door seals to ensure they are sealing properly. Replace if worn or damaged. Perform the paper test to check seal integrity.
- Temperature Settings: Check the temperature settings. If set too low, the refrigerator will run constantly to maintain the temperature. Adjust to the recommended settings.
- Condenser Coils: Clean the condenser coils regularly. Dirty coils can cause the refrigerator to overwork. Unplug the unit and use a vacuum or brush to clean the coils.

5. Interior Light Not Working
- Bulb: The bulb might be burnt out. Replace it with a new one of the same type and wattage. Ensure the refrigerator is unplugged before replacing the bulb.
- Door Switch: The door switch might be faulty. Test it by pressing it in and out. If the light doesn’t respond, replace the switch. Refer to the manual for switch replacement instructions.

When to Call a Professional
While many common issues can be resolved with basic troubleshooting, some problems may require professional assistance. If the refrigerator remains non-functional despite these efforts, or if there are signs of significant mechanical issues, it’s best to contact a certified technician to avoid further damage.
By addressing these common problems with Whynter refrigerators, you can ensure they operate efficiently and effectively, saving you time, money, and unnecessary stress. Regular maintenance and prompt troubleshooting will keep your refrigerator running smoothly for years to come.